Animation curves
Warning: These pages are from before the launch of Framer X22 and are about the older animation API. These animations might still work in the current version of Framer but are officially deprecated. Learn about the current animation API here.
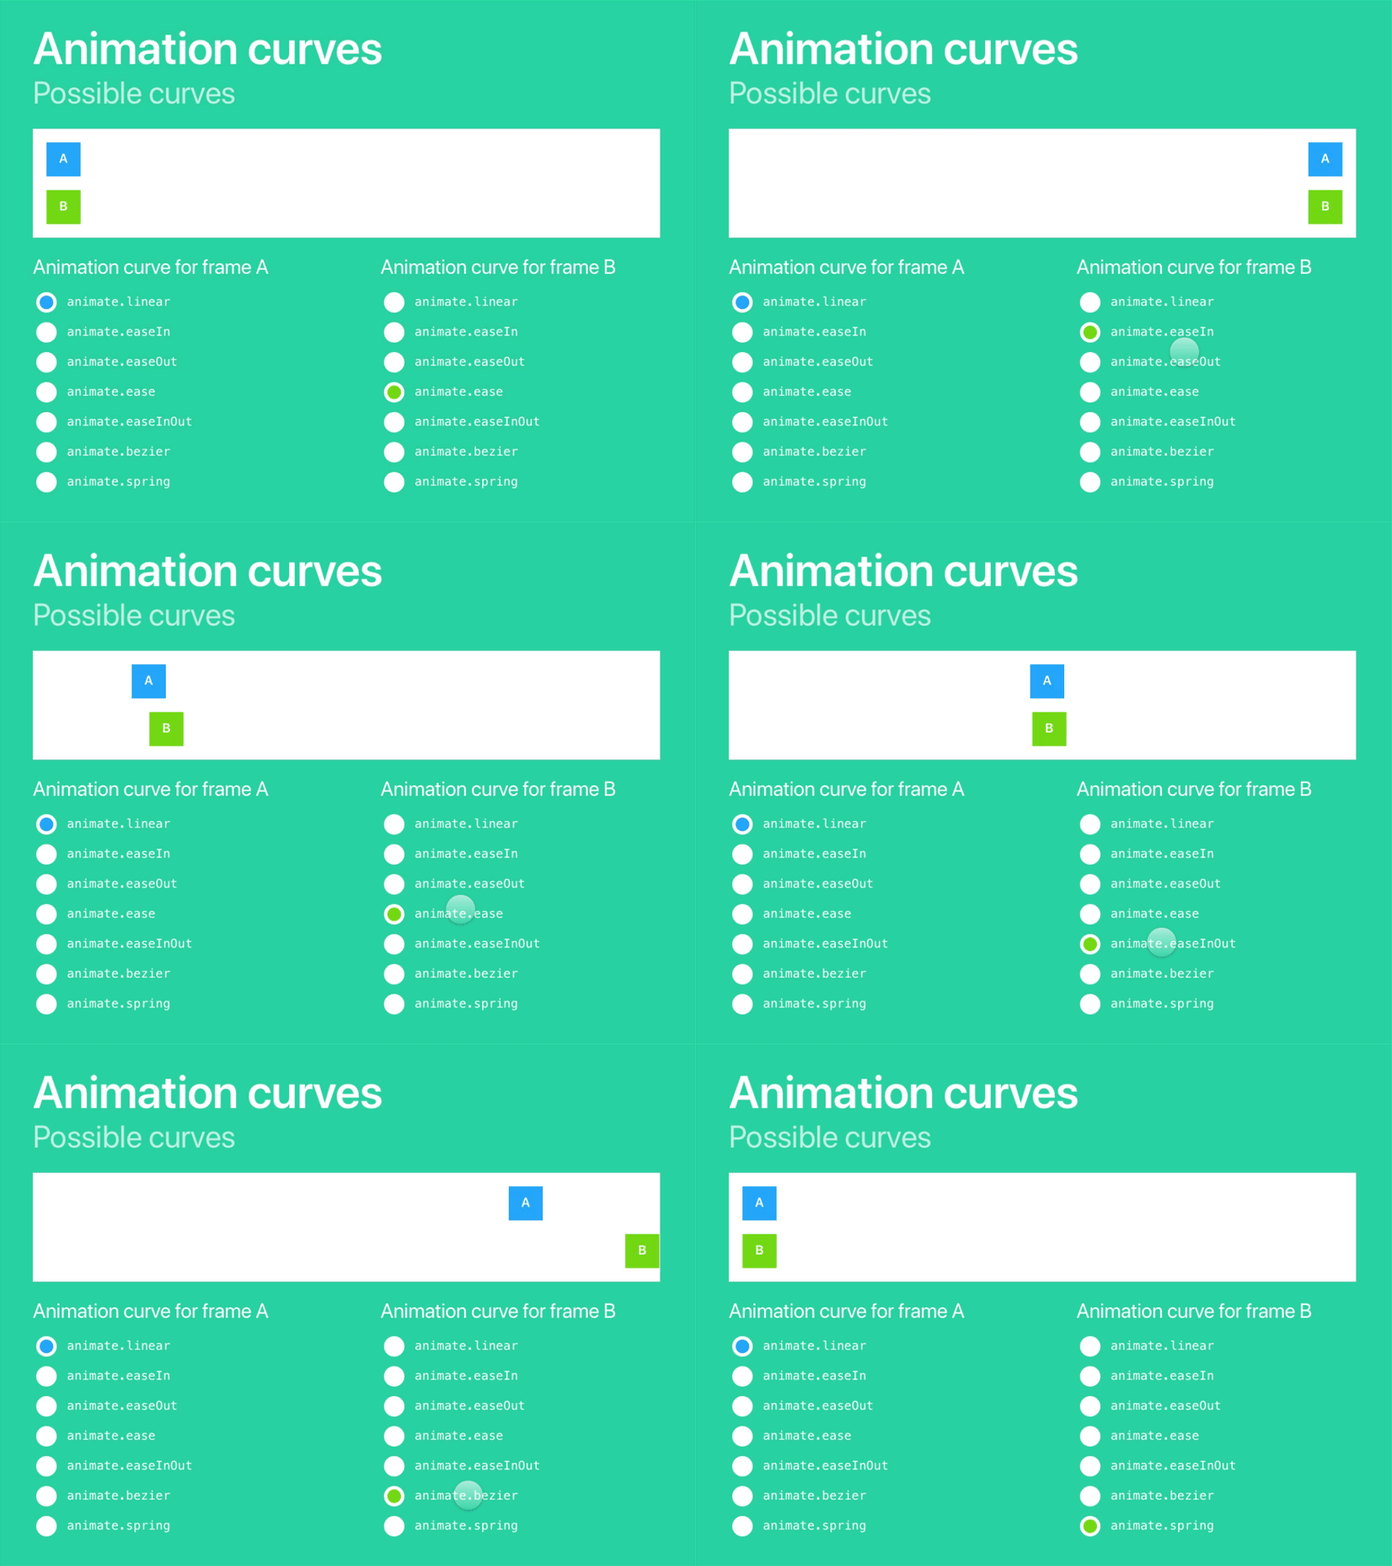
You might recognize this prototype from its Framer Classic version. As you can see, the exact same animation curves are available in Framer X.

Linear
The curve that’s not a curve, because the animation always runs at the same speed. The only option you can set is the animation’s duration, in seconds.
animate.linear(«valueToAnimate», «endValue», {
  duration: 1
});
You add the duration in its own { object }. This might look strange, but it’s because other curves (Bézier, Spring) have more settings that all go inside this same animation options object.
In all these code snippets, «valueToAnimate» stands for the Animatable (that you’ve bound to the property of a frame), and «endValue» for the value you want to animate to.
So the animation for ‘frame A’ in the above example, would look like:
import { animate, Override, Animatable } from "framer";

const leftPositionBoxA = Animatable(20);

// Override for the frame
export const BoxA: Override = () => {
  return {
    left: leftPositionBoxA
  };
};

// Override for the button
export const Button_BoxA_Linear: Override = () => {
  return {
    onTap() {
      animate.linear(leftPositionBoxA, 850, {
        duration: 2
      });
    }
  };
};
I’m animating the blue box to a position 850 points from the left, over a time of 2 seconds.
(The actual code is a bit more complicated, with a separate function that starts all animations. Check the project.)
For all curves, omitting (the object with) duration, like this…
animate.linear(«valueToAnimate», «endValue»);…will result in a default duration of one second.
And when you don’t define a curve, like this:
animate(«valueToAnimate», «endValue»);… you’ll get the default ease curve (in this case also with a duration of one second).
Easing curves
The easeIn, easeOut, ease and easeInOut curves also let you set their duration.
animate.easeIn(«valueToAnimate», «endValue», {
  duration: 1
});
animate.easeOut(«valueToAnimate», «endValue», {
duration: 1
});animate.ease(«valueToAnimate», «endValue», {
duration: 1
});
animate.easeInOut(«valueToAnimate», «endValue», {
  duration: 1
});
Bézier curves
The easing curves above are actually Bézier curves, like those that you can find on cubic-bezier.com.
On that same website, you can tweak a curve until it feels right (I made this ‘Speedy Gonzales’ curve, for example.) and then copy the values to an animate.bezier curve in Framer. Like this:
animate.bezier(«valueToAnimate», «endValue», {
  duration: 1,
  curve: [1, -0.65, 0, 1.25]
});
To get an idea of the possibilities you can check out the many example curves on easings.net.
Spring curves
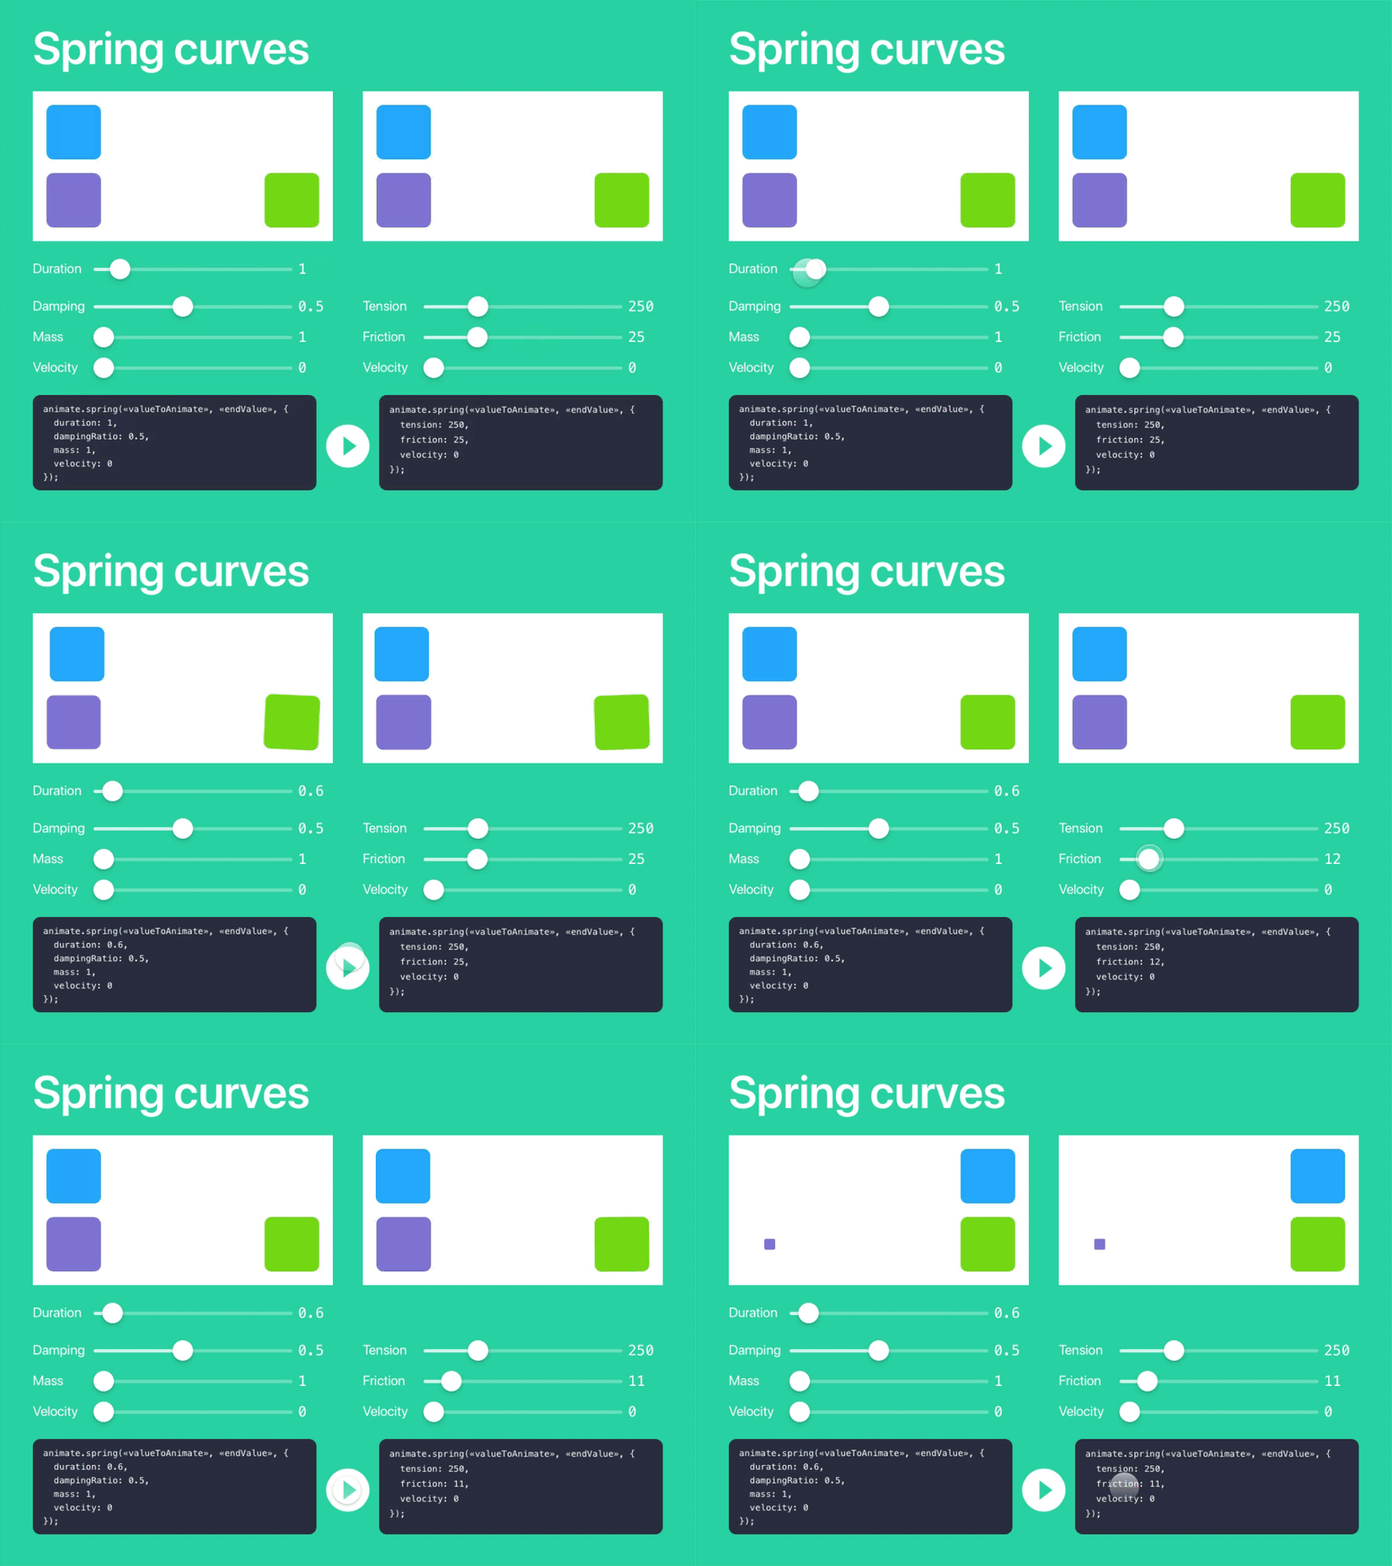
Again, you might remember the Framer Classic version of this prototype.
You can tap the code snippets at the bottom of the screen to copy them.

There’s the spring with damping that we know and love (the one on the left). We love it because you can set its duration.
animate.spring(«valueToAnimate», «endValue», {
  duration: 1,
  dampingRatio: 0.5,
  mass: 1,
  velocity: 0
});
And then there’s the ‘Classic Spring’ (on the right), of which you tweak its tension and friction to get the desired bounciness and duration.
animate.spring(«valueToAnimate», «endValue», {
  tension: 250,
  friction: 25,
  velocity: 0
});
For more details about these parameters, please refer to the section in Framer Classic book.
By the way, you can always put the animation options in a separate object:
const springOptions = { tension: 500, friction: 30 };

animate.spring(«valueToAnimate», «endValue», springOptions);
… which makes it easier to use the same options for different animations.